Efficient and simple to use system to build very precise models
Building plexiglass bases for your models
EASY MODEL is an efficient and simple to use system to build very precise models.
This system makes it possible to replace the plaster base of the model with a plexiglass base.
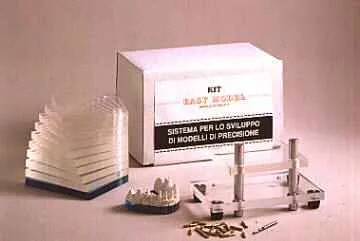
Therefore, you will be able to control the expansion of the plaster of the reproduced arch, thus completely eliminating the expansion of the plaster base. In fact, unlike plaster, the dimensions of the plastic base do not vary and, in particular, the EASY MODEL plexiglass bases with a thickness of 8 mm can be drilled and easily worked, thus offering an excellent seat for stump pins. To use the KIT, you must first acquire a normal plaster drill. Just attach the metal impression tray support onto the EASY MODEL using common pasteline which is readily available on the market, as shown in figure 1. Then place a plexiglass base in bottom of the register guides as shown in figure 2. (the plexiglass base remains perfectly blocked into position during drilling) Use a common plaster drill to make the required holes in the plexiglass, drilling from the bottom to the top as shown in the figure 3. (the photograph illustrates a special drill that is equipped with an optical pointer located in the upper arm to drill holes with the greatest possible accuracy)
CONICAL PINS (fig.4) As you can see in figure 5, the tapered pins are inserted with the knurled part facing up. After having inserted all the required pins, carefully pour the plaster into the impression tray and position the plexiglass board with the pins facing the bottom in the upper register guides as shown in figure 6.
Once the plaster has hardened, remove the board and cut and separate the stumps before the plaster completely expands in order to create cuts which will be used as an expansion area as shown in figure 7. After you have cut the model, the plexiglass base can be shaped by following the outline of the model, thus obtaining excellent results. It is also possible to place the model in an articulator by inserting three pins in the central part of the plexiglass base. (fig. 8-9a-9b)
|
Image
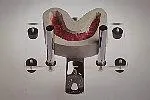
Fig.1 |
Image
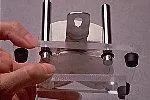
Fig.2 |
|
Image
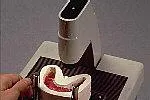
Fig.3 |
Image
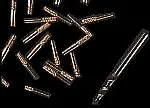
Fig.4 |
|
Image
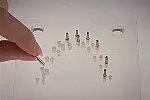
Fig.5 |
Image
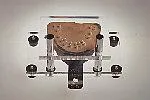
Fig.6 |
|
Image
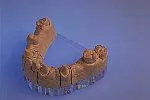
Fig.7 |
Image
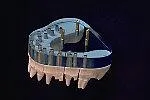
Fig.8 |
|
Image
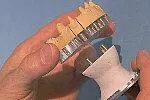
Fig.9a |
Image
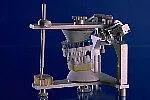
Fig.9b |
|
Image
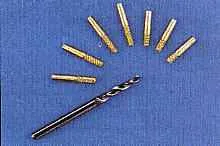
Fig.10 |
|